Mix Wood Tones Like a Pro: 5 Easy Rules to Follow for a Cohesive Look
Learn how to confidently combine wood finishes without making your space feel chaotic
Mixing wood tones can feel intimidating—like one of those things only seasoned designers just know how to pull off. But truth is, it’s a game-changer when it comes to creating a space that feels layered and elevated.
In this post, I’m breaking down why blending different wood finishes makes such a difference—and how you can get it right with a few simple design rules that take out the guesswork.

Why Mix Wood Tones in The First Place?
You might be thinking—wouldn’t it just be easier if all the wood tones matched? That’s usually the first instinct, especially before you dive into the world of design. But here’s the truth: matching every wood tone in a room is kind of like buying a full furniture set. It feels safe, but it doesn’t do much to elevate your space.
If you’re going for that timeless, layered, designer look, mixing wood tones is a must. To keep your space from feeling flat—or like you just walked into a furniture store showroom—one of the best things you can do is mix wood tones. It’s a small shift that makes a big impact.
For example, when everything in a living room is the same wood tone, the space can actually feel a bit flat. It might seem like it would make things look cohesive, but real cohesion comes from contrast and balance—not from everything being the same. Mixing tones adds depth, interest, and that collected-over-time feel we all love.


The 5 Rules of Mixing Wood Tones
Now, let’s get to the good stuff. I’ve broken down this seemingly intimidating concept into five simple rules to keep in mind when mixing wood tones. Think of them as quick guidelines that take out the guesswork and help you create a space that feels balanced, intentional, and beautifully layered.
1. Don’t mix more than 3 wood tones in a space
The first thing to keep in mind is how many wood tones you're mixing. Yes, mixing is key—but too much of a good thing can quickly make a space feel chaotic and cluttered. When you add too many different wood finishes, it can overwhelm the decor and make the room feel like it lacks a clear style.
A good rule of thumb? Stick to a maximum of three wood tones in a single space. It keeps things visually balanced and makes the whole process a lot less stressful. Three is more than enough to create depth, contrast, and that intentional, designer feel.

Amber Interiors
A common design dilemma with this rule is what to do in an open layout—like when your kitchen, dining area, and entryway all flow into one another. Don’t worry, you’re not alone in wondering how to handle that.
The easiest approach? Think of each zone as its own little space for now. You don’t have to tie everything together right away. Let each area have its moment. I’ll walk you through how to create flow and tie the tones together in an open concept a little later in this post.

Studio McGee
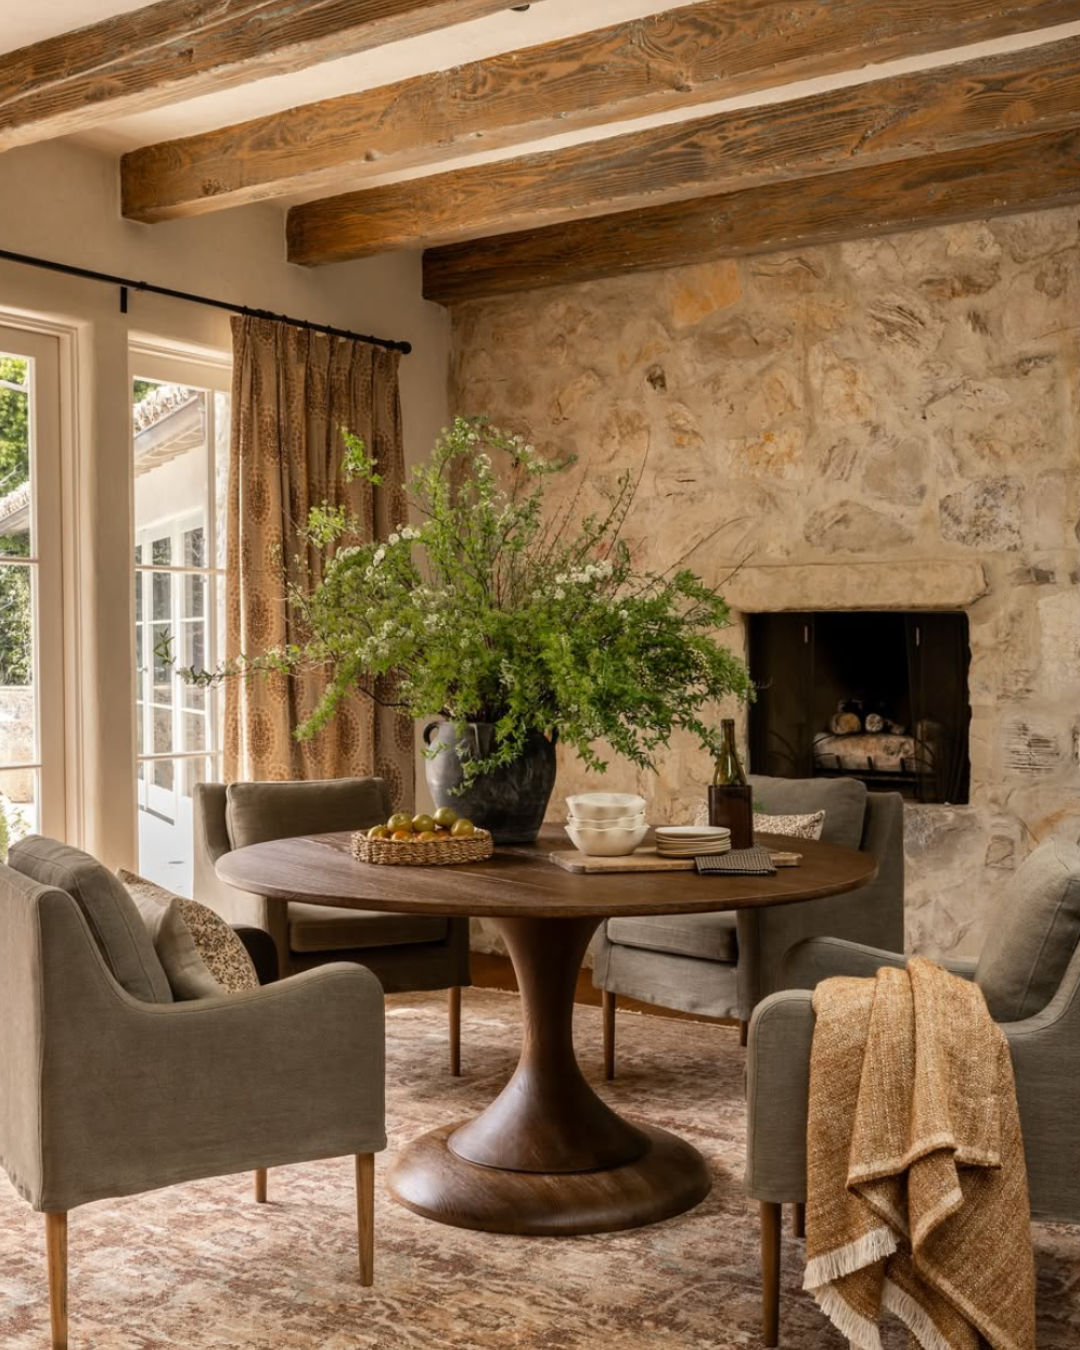
2. Pick a Dominant Wood Tone
Your dominant wood tone isn’t about how much of it you have—it’s about what catches your eye first. It’s the most visible tone in the space. In a living room, that might be the coffee table. In a dining room, it’s usually the dining table. In a bedroom, it’s often the dresser. And if your space has ceiling treatments, the wood beams or shiplap can also become that standout tone. These larger, eye-catching pieces naturally set the tone—literally—for the rest of the space.
So when you’re starting to mix wood tones, begin with the dominant one. Let it lead the way. Once you’ve picked that main tone, it becomes a lot easier to choose complementary wood finishes for the rest of the room.
What About the Floors?
Yup, flooring counts too—and often it’s the biggest wood surface in the room. If your floors have a strong undertone or color, they’ll naturally influence the rest of the wood tones you bring in. In that case, consider the floor your dominant tone and build your mix around it. On the other hand, if your flooring is light, neutral, or faded (like white oak), you may be able to treat it more like a backdrop and let your furniture take the lead.

Cedar Oak Homes
3. Connect the Pieces
This one’s especially helpful for open concept living. Earlier, I mentioned treating each zone—like the entryway, kitchen, and dining area—as its own space to begin with. But as you build out those zones, look for ways to connect the wood tones between them.
Think of it like creating little visual links. The bench in your entryway might echo the tone of your kitchen stools. Your console table could tie in with the legs of your dining chairs (yep—chair legs count as wood tones too!). Even your staircase railing might find a match in your dining table finish.
This rule helps bring cohesion across an open layout without making everything too matchy-matchy. It’s a subtle way to tie the whole space together while still letting each area have its own moment.
Amber Interiors
4. Add Bridging Elements to Your Space
Now it’s time to physically tie all your wood tones together. To bridge the visual gap between different finishes, bring in thoughtful decor a.k.a bridging elements. These are pieces that help connect the tones in a subtle but intentional way.
Think area rugs, runner rugs, wooden bowls, picture frames, rattan trays, or baskets. These details work behind the scenes to make your mix of wood tones feel cohesive.
For example, in a living room, a large neutral-toned rug can ground the space and soften the contrast between wood finishes. In the dining room, a fruit bowl on a sideboard might pick up the tone of your chair legs. In the bedroom, a simple wood-framed photo or a piece of art above the bed can echo a nearby furniture finish.
There’s no one right way to do it—just play around and layer as you go. The more you experiment, the more natural it’ll feel. So go ahead, mix fearlessly and have fun with it!

Studio McGee
5. Don’t Overlook the Finish
Wood finishes—like matte, gloss, or textured—can make a big difference in how tones work together. For example, pairing a glossy walnut dresser with a matte white oak coffee table might feel a bit off. Instead, toning down the finish on the walnut to a matte version can make everything feel more cohesive.
Subtle textures, like visible wood grain on a coffee table, can actually enhance the organic vibe of a space. But high-gloss or super polished finishes tend to stand out and can be harder to pair.
When in doubt, stick to similar finishes across your wood pieces—especially if you’re just starting out. If the finish is subtle, you have more flexibility. But overall, consistency here helps simplify the mixing process.

Studio McGee
There you have it—my take on mixing wood tones and how to pull it off without overcomplicating the process.
If you’ve made it this far, give yourself a pat on the back—you’ve just unlocked a whole new level of design confidence. Mixing wood tones is definitely a pro-level skill. Even experienced designers take their time with it, and it’s totally normal for it to feel tricky at first.
While there’s always some trial and error involved, I hope these simple guidelines make the process feel a little less intimidating and a lot more fun. You’ve got this!